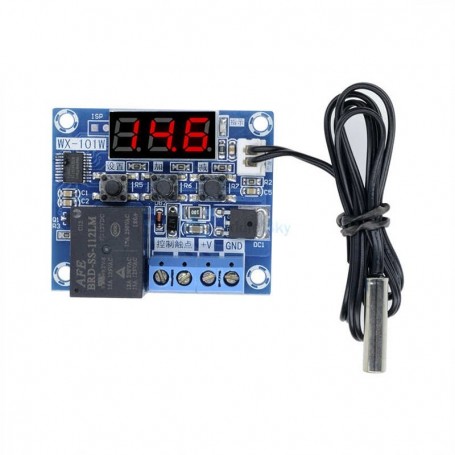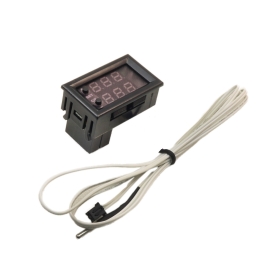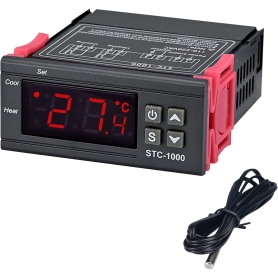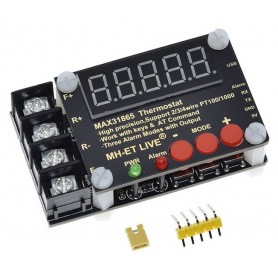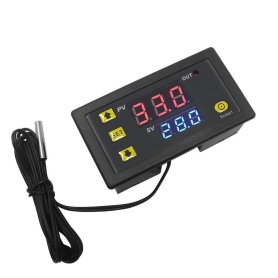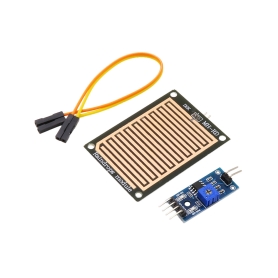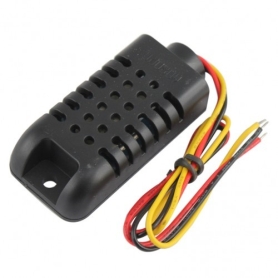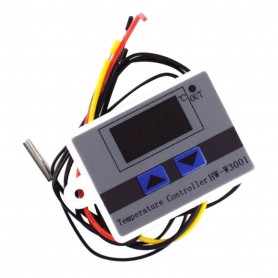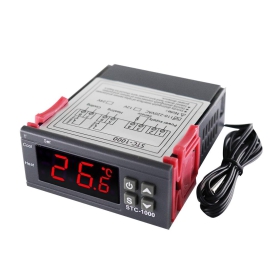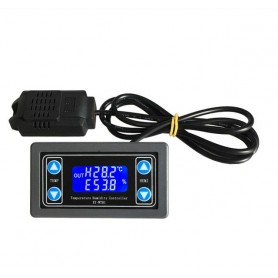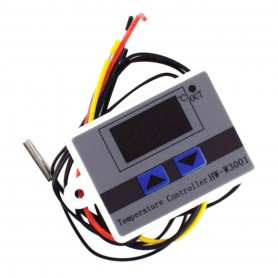
ماژول ترموستات دیجیتال WX-101W یک ابزار پیشرفته برای کنترل دما در سیستمهای گرمایشی و سرمایشی است. این ماژول با بهرهگیری از سنسور دقیق NTC10K و نمایشگر دیجیتال، امکان نظارت و تنظیم دما را به صورت لحظهای فراهم میکند. قابلیت انتخاب بین حالت گرمایش و سرمایش، تنظیم حساسیت، کالیبراسیون دما و تعریف زمان تأخیر برای تغییر وضعیت رله از ویژگیهای کاربردی آن است. این ماژول به طور خودکار وضعیت رله را با توجه به دمای محیط کنترل کرده و در صورت بروز خطاهایی مانند قطع یا کوتاهشدن سنسور، با نمایش هشدار مناسب، از سیستم محافظت میکند. WX-101W برای کنترل دقیق و کارآمد دما در کاربردهای مختلف طراحی شده است.
مشخصات:
- ولتاژ کاری 12 ولت DC
- سنسور NTC10K
- نرخ تازه سازی اطلاعات 0.5 ثانیه
- دقت 0.1 درجه
نحوه استفاده:
Cooling: در صورت بالا رفتن دما از حداکثر مجاز تعیین شده رله وصل می شود(هدف، کنترل سیستم سرمایشی)
Heating: در صورت پایین آمدن دما از حداقل تعیین شده رله وصل می شود(هدف، کنترل سیستم گرمایشی)
F-2 با زدن دکمه SET و با استفاده از کلیدهای جهت دار بین پارامترها امکان جابجایی وجود دارد. با انتخاب F-2 وارد تنظیمات هیسترزیس شوید. این پارامتر تعیین کننده مقدار تلورانس حساسیت می باشد. به طور مثال دمای تعیین شده 30 درجه است بعد از گذشتن از این دما سیستم رله را قطع می کند در صورتی که حساسیت سیستم روی 2 درجه تنظیم شده باشد تا 28 درجه رله تغییر وضعیت نمی دهد.
F-3 با طی مراحل فوق وارد قسمت F-3 که به منظور کالیبراسیون می باشد. به این صورت که با توجه به اختلاف دمای اندازه گیری شده با دمای واقعی یک Offset برای سیستم تعریف می شود. که در صورت نداشتن دماسنج دقیق مقدار پیش فرض صفر مطلوب می باشد.
F-4 تعیین زمان تاخیر برای تغییر وضعیت رله بعد از گذشتن از حد مجاز دما (قابل تنظیم از 0 تا 10 دقیقه با دقت 1 دقیقه)
در صورتی که سنسور متصل نشده باشد و یا داده ای ارسال نکند پیام “EO” بر روی صفحه نمایش ظاهر می شود.
Specification
Temperature range :-50 to 110 C
Dimensions: 48.5 * 40mm
Temperature control mode: ON / OFF
Resolution When temperature is 0.1 C, the resolution is -9.9~99.9, other temperature segment is 1 C
Control accuracy: 0.1 C
Hysteresis accuracy: 0.1 C
Refresh rate: 0.5S
High temperature protection 0-110 C
Supply voltage: DC 12V
Static current: ≤ 35MA, attract current ≤ 65MA
Output voltage: DC 12V
Output power: 12A relay
Measurement input: NTC (10K 0.5%) Waterproof Sensor
Environmental requirements: -10 ~ 60 C Humidity 20% -85%
Instruction
First use a connection power supply and load line, can for power supply of temperature control board and display is the current temperature.Press”+“or” —”to adjust the control temperature, After press ‘setting' key to save. Out. The temperature control board for automatic control mode of heating. According to the set temperature automatic control relay on-off, temperature control board relay electric contactor is 12A, can match most of the high power load equipment.
Digital display and status indication
Light up: relay connected Light off: relay disconnect For sensor: display “EO" for sensor open circuit, display ‘---' for sensor short circuit, no matter what kind of fault control board will cut off the load and automatically protect!
| Function Code | Functional Specification | Set Range | Factory Settings |
| F-1 | Heating/ cooling | HH/CC | HH |
| F-2 | Back to setting | 0.1~20℃ | 2℃ |
| F-3 | Temperature calibration | -5.0℃~5.0℃ | 0.0℃ |
| F-54 | Delay start time | 0-10minutes | 0 |
| Automatically Protect | High temperature protection | More than120℃ | Automatic |
| Disturbance Display | EO | Probe open circuit | Automatic |
| Disturbance Display | --- | Probe short circuit | Automatic |
1. Electricity factory Setting: hold the setkey, set the release button 3 seconds torestore the factory Settings!
2. Control mode: press "set" button at once, Let it display F - 1, and then press "set"button to enter the F - 1 manu ,and then click
"+" button display “H H ” for heating control mode, according to "-" button display "CC" to refrigeration control mode, Last press
"set" for preserve and exsit.
3. Temperature Setting: under the displays the current temperature directly at '+' or '-'button can set the required control point
temperature, After finish the installation.press "set" for preserve and exsit.
4. Return difference Setting: Press "set"button display "F - 1", then press the "+"button or "-" button can adjust function, when
display F - 1 ,press "+" button to let its display F - 2, This time press "set" button to enter at F - 2 functions, it's return difference
parameter adjustment interface,press the "+" or "-" button to adjust return difference values, the return difference mean start
and stop temperature difference, if want to control the heating ,If control temperature setting 30 degrees, Return difference set to
2, is the current temperature over 30 degrees, Relay disconnect.lower than 28 degrees relay connect, The Return difference of 2!
Refrigeration control is opposite control state!
5.Temperature correction Setting: adjustment function is display F -3, according to press a"set" button to enter the F - 3 parameters to adjust interface, the adjusting range of -5.0~ 5.0, when the temperature is not accurate, can be temperature
correction according this function, if the measurement of the current temperature is higher than the actual temperature of 0.5 degrees, calibration parameters can be adjusted to -0.5, press "setting" for preserve.
6. Delay start time Setting: after "stop "start to the next start, To satisfy setting time and then can be start , generally for protect
the compressor at refrigeration control mode, the heating control can be set to "0", the factory default is "0", delay time "0 "to "10 "minutes.
-
Moein Jalaly | 1 سال پیش میشه آیسی میکرو رو مدلش بگید
اگر از pic استفاده کنم کنه تو طولانی مدت خطا زیادی داره اگر STM استفاده کنه دقیق تر هست -
Moein Jalaly | 1 سال پیش سلام آیسی محصول چند پایه هست ؟ لطفاً به جز عکس جوابمو بدین
-
پشتیبانی | 1 سال پیش سلام موجودی مطابق با تصویر کالا می باشد تراشه 20 پایه می باشد .
-
-
ابوالفضل عباسی | 2 سال پیش سلام میشه برای دستگاه جوجه کشی استفاده کرد -
Mobin Yaghobi | 2 سال پیش سلام میشه المان سرد کننده و فن به این وصل کرد.
-
پشتیبانی | 2 سال پیش سلام
امکان نصب دارد ولی با توجه به رله 10 آمپری از المان هایی با جریان کشی پایین تر می بایست استفاده نمایید
-
-
مازیار دولتیاری | 4 سال پیش سلام لطفا موجودش کنین -
مازیار دولتیاری | 4 سال پیش سلام روز بخیر لطفا موجودش کنین -
رضا ولیزاده | 5 سال پیش با سلام
ببخشینامکانش هست رله ای استفاده کنین که بشه تا ۲۵ آمپر برق شهری ازش استفاده کرد؟-
پشتیبانی | 5 سال پیش سلام، دستکاری محصول به هیچ عنوان پیشنهاد نمی شود و حداکثر جریان 12 آمپر را به صورت نامی می توانید از رله عبور دهید.
-
-
امین عظیمی | 5 سال پیش سلام.با کنترل دما ۱۲۱۹ چه فرقی داره ؟کدوم بهتره برای خرید؟؟-
پشتیبانی | 5 سال پیش سلام، به غیر از تفاوت های فیزیکی، تقریبا در یک سطح می باشند
-
-
هبهر خرهلهر | 5 سال پیش سلام رله چند وات خروجی رو جواب میده و بلندمدت کار میکنه-
پشتیبانی | 5 سال پیش سلام، رله توانایی هدایت برق شهری تا 12A را بصورت نامی را دارد و در صورت استفاده با توان مناسب توانایی کارکرد بلند مدت را دارد.
-
-
محمدطه تیموری | 6 سال پیش سلام ببخشید دماسنجش ضد آب هست؟-
پشتیبانی | 6 سال پیش سلام، سنسور ضد آب می باشد.
-
- 1
- 2
- 3
- بعدی
